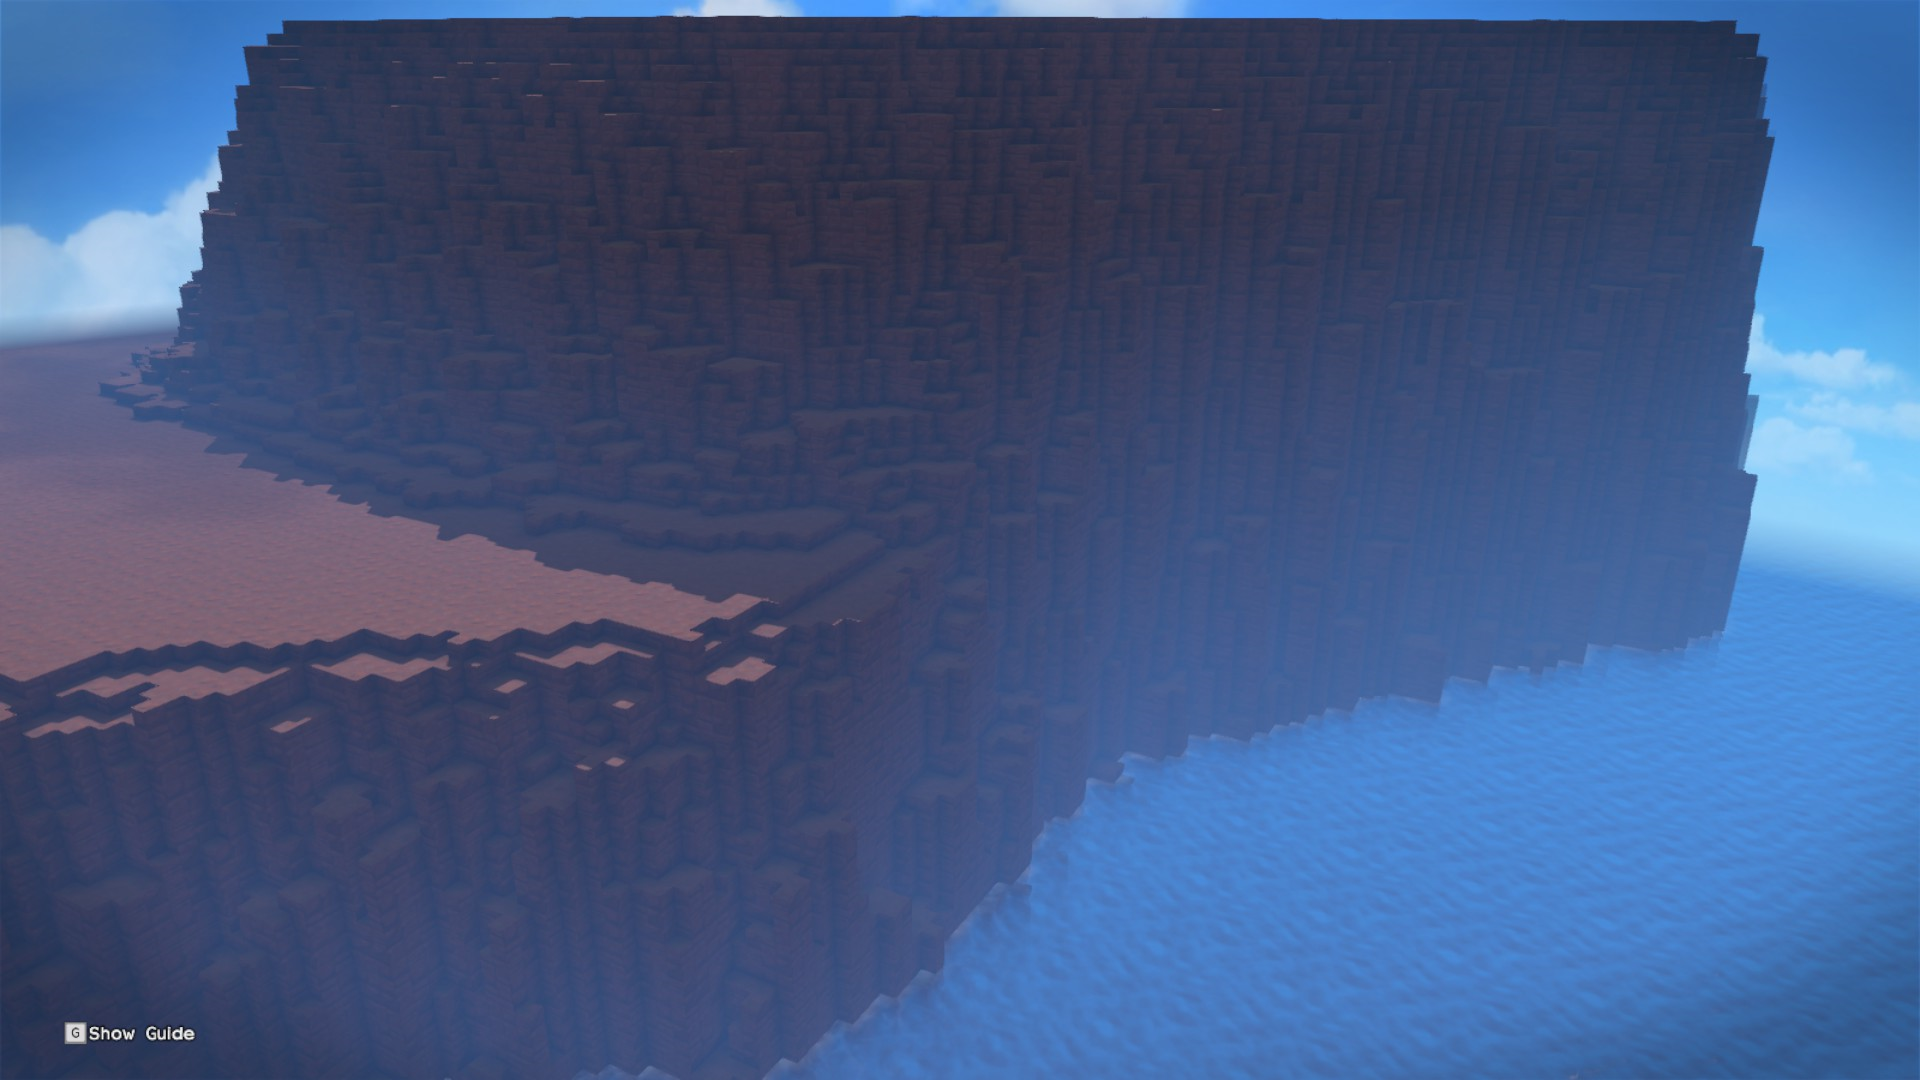
Tutorial: Basic Hill part 2
This tutorial continues from Part One. We will use paint.net to smooth the hill, and run the script again with very few code changes.
Create a copy of hill.bmp named smooth-hill.bmp. Open this file in paint.net.
We are going to be using the Guassian Blur effect and the Crystallize effect to make the hill
be shaped more like a hill and less like a plateau.
But if we leave the background transparent, the Guassian Blur will create some semi-transparent pixels which will confuse our results.
So first use the Paint Bucket to paint the background white.
Set the Tolerance to 0%, and don’t forget to switch to "Aliased rendering"!
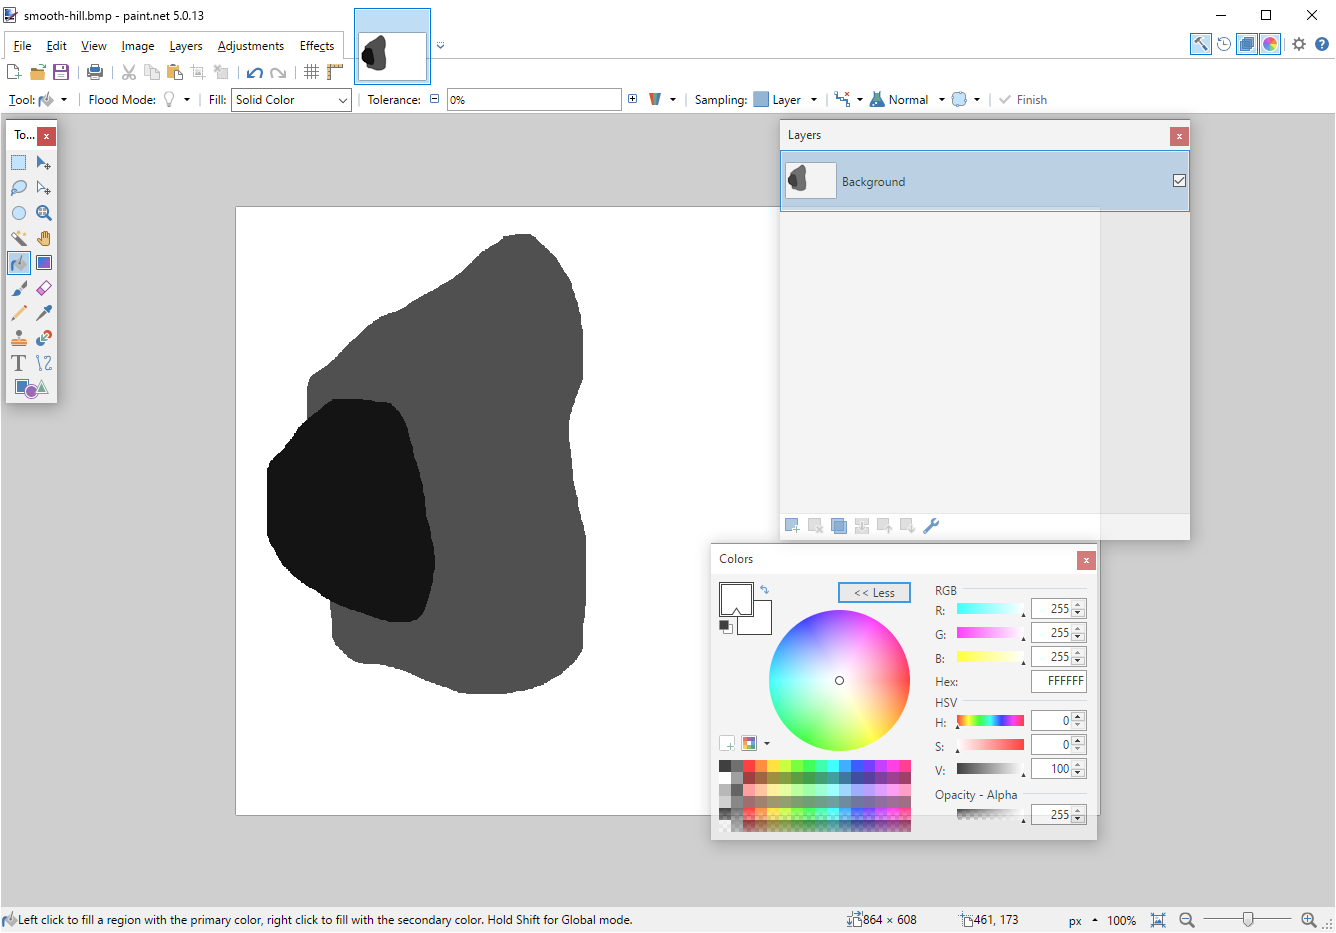
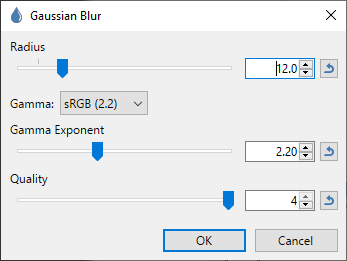
Now use Effects -> Blurs -> Gaussian Blur.
For my taste, setting the Radius to 12 produces a nice slope.
I always leave the other settings untouched.
If we left it like this, the hill would be abnormally smooth.
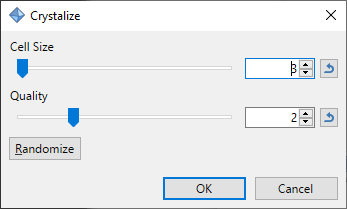
Use Effects -> Distort -> Crystallize to generate some random blockiness
so that our hill looks more like it belongs with the terrain the DQB2 generates.
For my taste, setting Cell Size to 3 looks nice.
Now we just need to undo the white background we added earlier.
Use the Magic Wand to select the white background, and notice how adjusting the Tolerance
changes how much of the edge will be clipped.
I will choose about 45%.
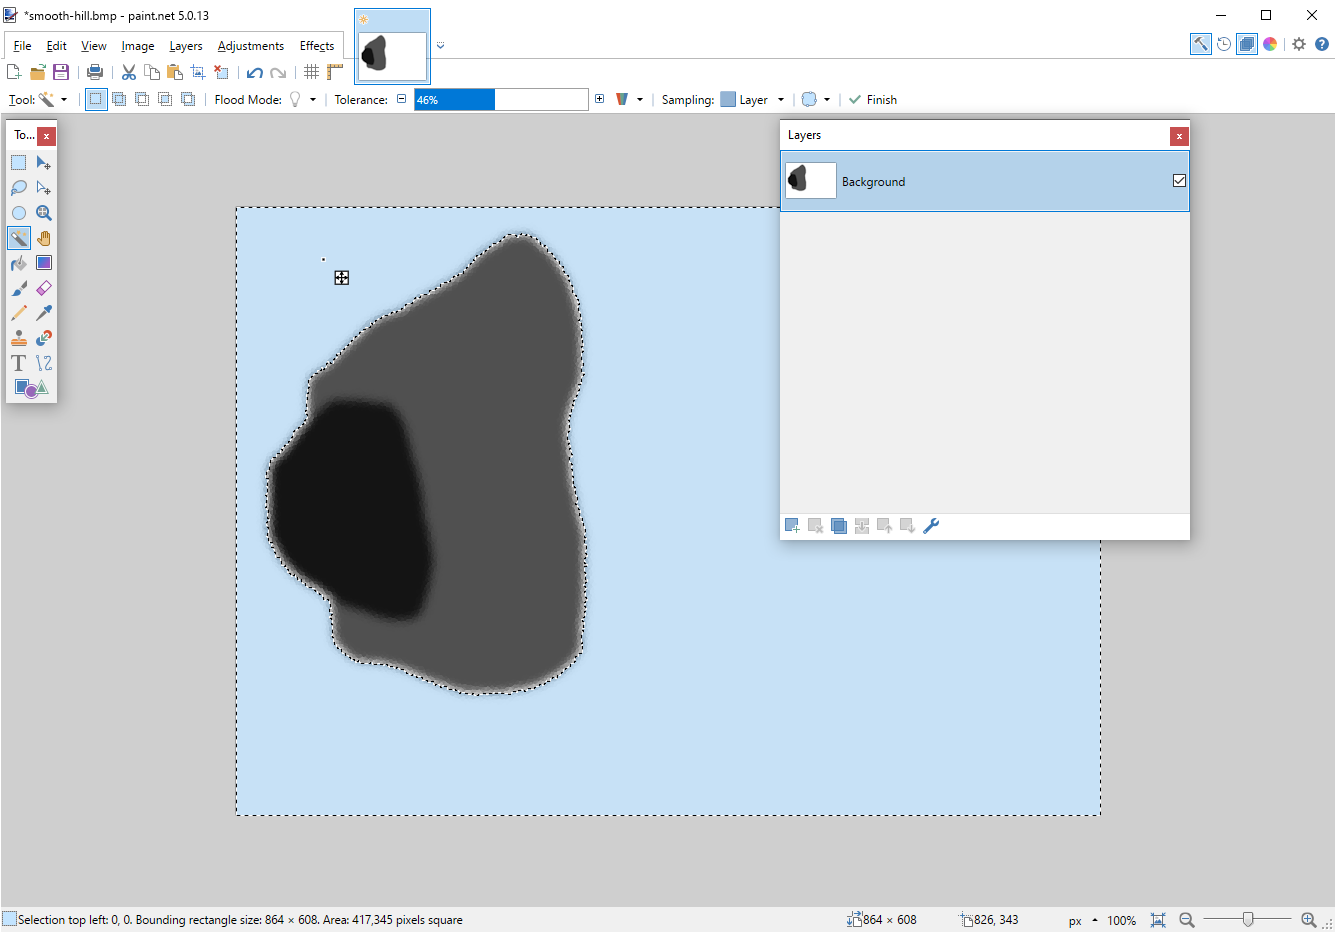
Now just hit the delete key to change the white background back to transparent.
Save these changes to smooth-hill.bmp.
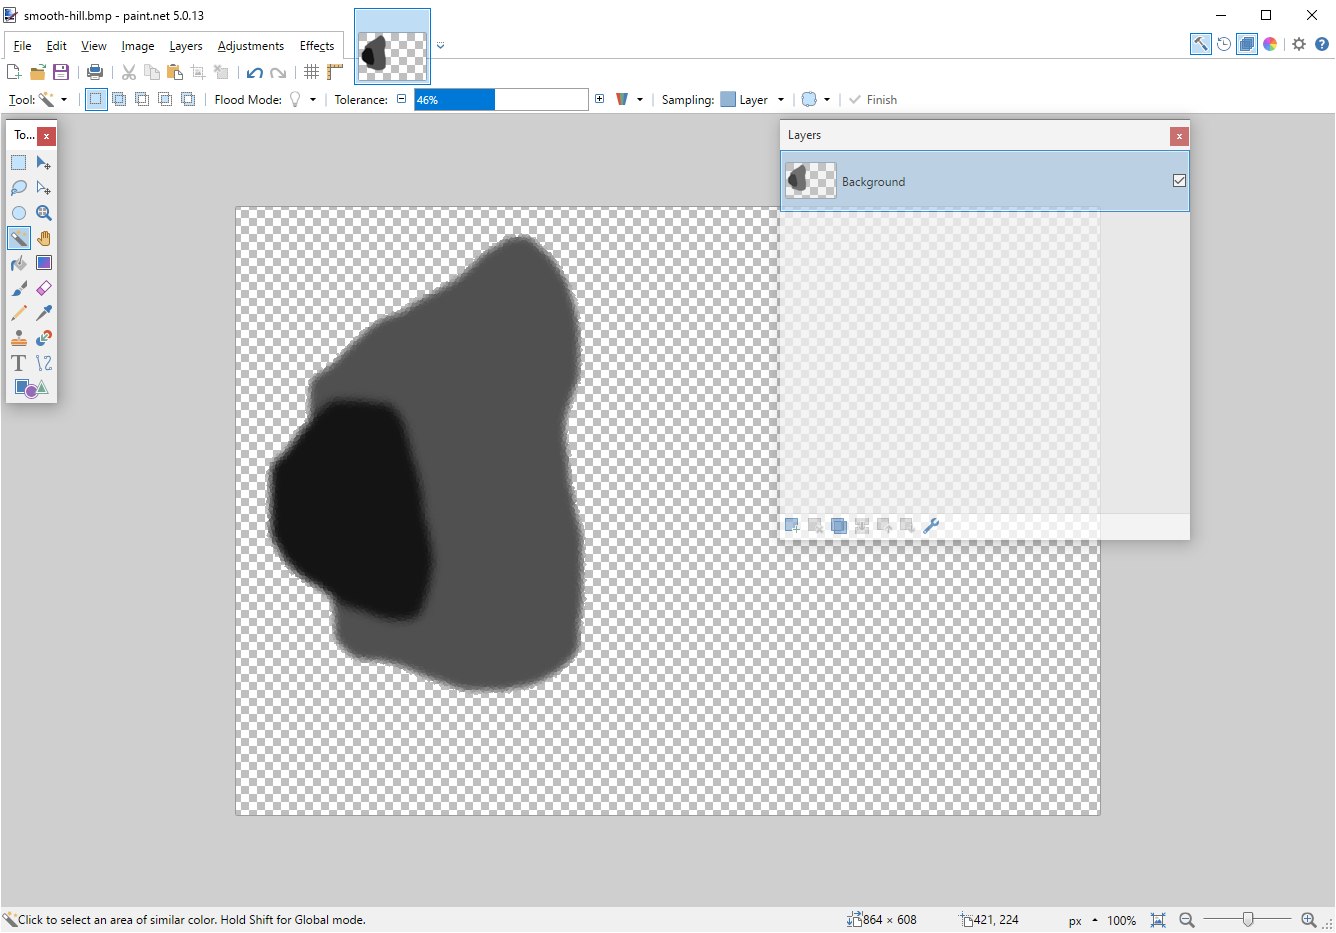
(define hill (bitmap->hill "smooth-hill.bmp"))
And that’s it!
Go ahead and run it, wait for it to finish, and then load your save file and take a look.
Here is angle 1:
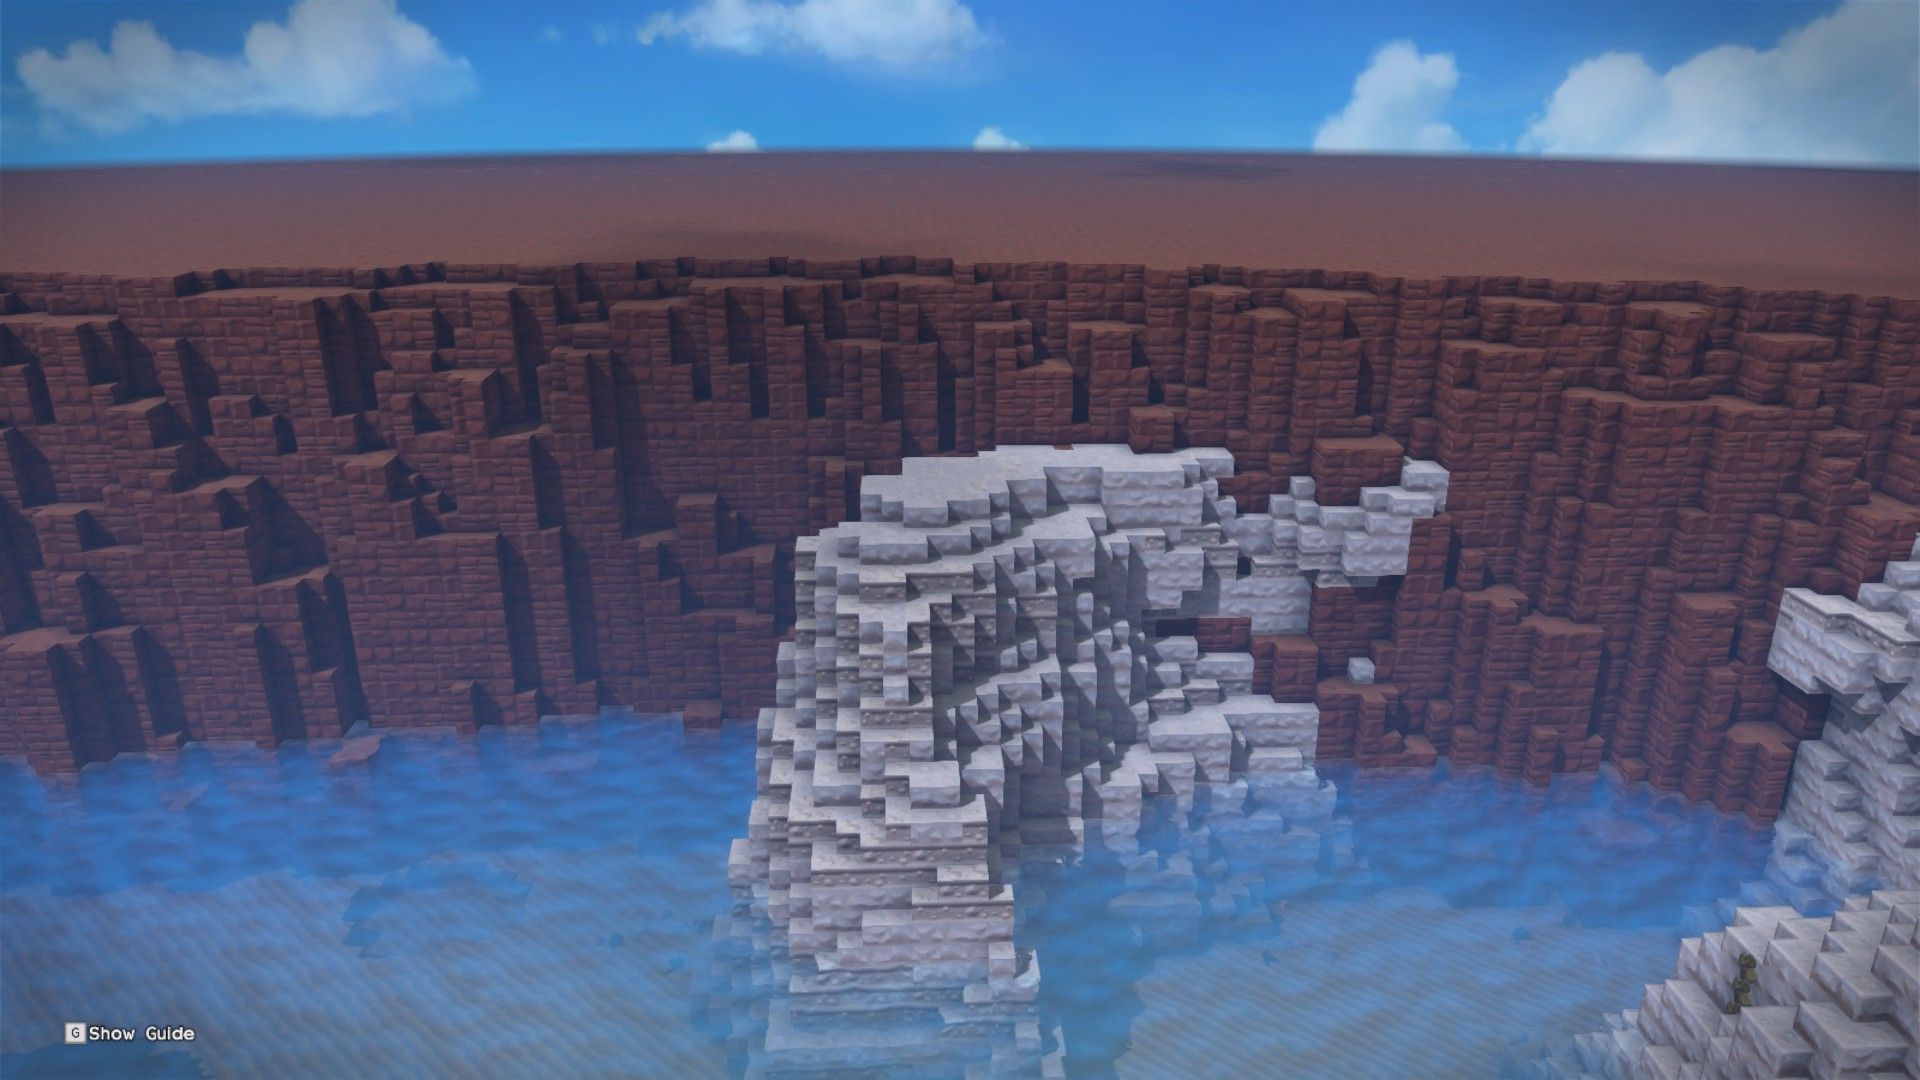
And angle 2:
